The Mold Worked

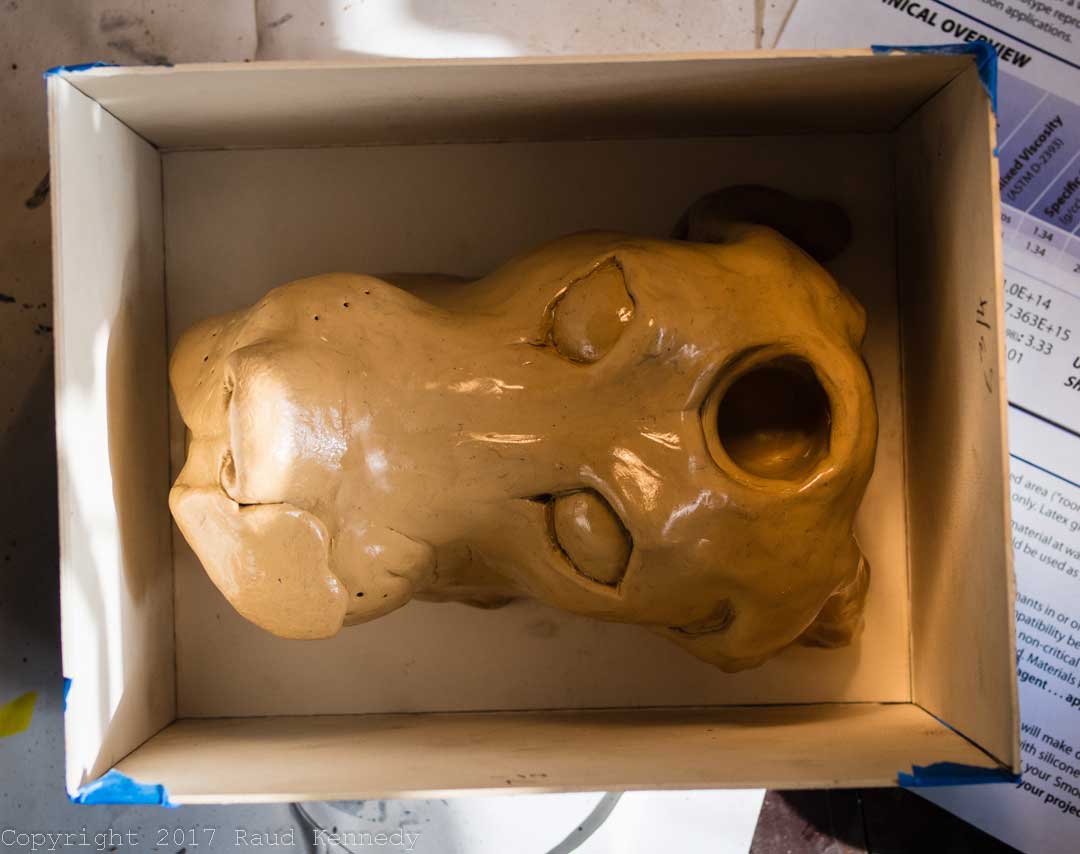
The mold worked but I messed it up in a couple places when I had to improvise to raise the level of Oomoo 30 when I ran short, but the process taught me a few things to do different with the next dog. And to watch for those air bubbles in the plaster mix.

p2190037p2190038

Making a Silicone Mold

Plastilina dog ready to be covered in Oomoo 30.

Plastilina dog ready to be covered in Oomoo 30.

p2180020p2180021

p2180028
Dog in the box ready to be covered.

p2180030

I didn’t have quite enough Oomoo 30 to cover the dog so I had to improvise to raise the level in the box.

Painting In Layers

P8290025
Spray painting the primer outside.
P8290023
And more primer. it doubles as the sealer on the air-drying clay.
P8290043
Painted a neutral base coat for light colored dogs.
P8310048
Here I’m roughing out the general color scheme and beginning to blend the colors at the edges.

Clancy in Clay

P8230086P8230094 P8230093 P8230092 P8230091 P8230090 Creating dogs out of clay from photos stresses me out. I’ve procrastinated making this one for at least a month. When I began to think of it as a cartoon in clay, I finally relaxed and was able to make it. It needs to dry a couple days before I turn it upside down and hollow it out. I’ve never done the complete dog, body and all, before. I’ve only done just the head, some for hanging on the wall, others for sitting on a table, some with stands, others for sitting on their own. I did a series of them as candle holders also. Making the entire dog presents its own problems of proportion without letting the size of the dog get out of hand. Next comes painting it. Here are the photos I worked from.P7010033 P7010017 P7010025